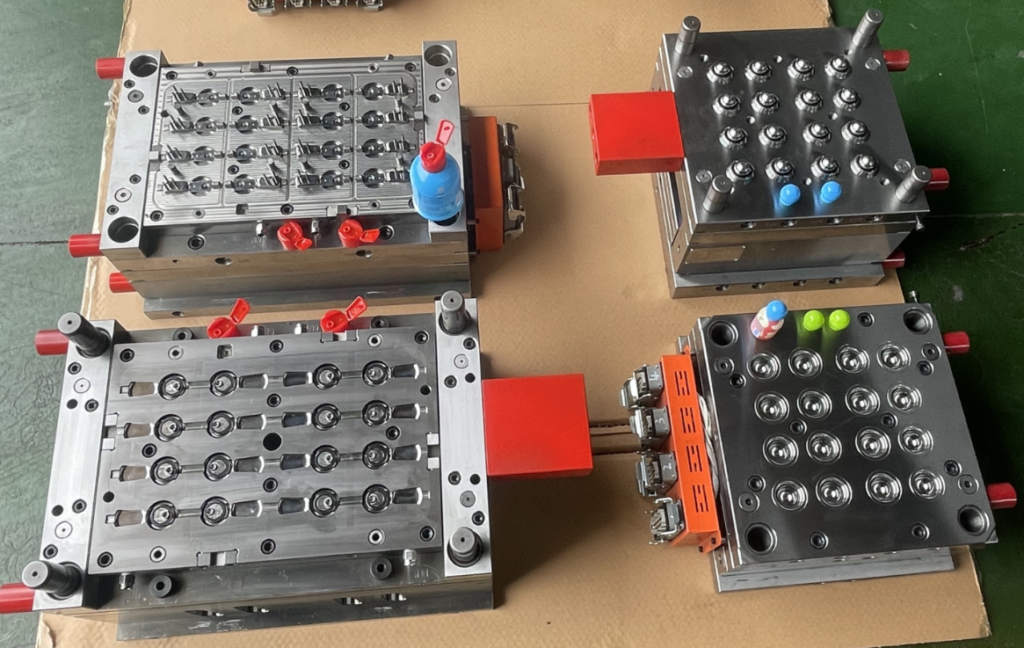
In the complex world of injection molding, one of the critical aspects to consider is the design and implementation of the exhaust slot. Properly setting up the exhaust slot, including measuring the height of the vent groove from the inner surface of the mold cavity to the outer edge, can significantly impact the quality and efficiency of the molding process. Proper exhaust methods are crucial in preventing defects like burns and insufficient injection, ensuring optimal performance. Here’s a guide on how to effectively design and implement an exhaust slot in your injection mold, ensuring optimal performance.

1. Preparing the Mold Cavity
The first step in setting up the exhaust slot is to ensure that the mold cavity is well-prepared. This involves a few key considerations:
Mold Cavity Design: Ensure that the cavity is designed to prevent material overflow and blockage. The exhaust slot should ideally have a length of 6-12 mm and a height of 0.25-0.4 mm. Proper mold structure design is crucial for optimizing exhaust efficiency and material flow, particularly in molds with complex geometries. Using silicon carbide abrasive for shot peening the mating surfaces of mold cavities can eliminate gas and improve overall product quality, especially for precision parts like gears where any flash may be detrimental.

Exhaust Slot Quantity: While it’s essential to have exhaust slots, avoid including too many. An excessive number of slots can lead to cold flow or even cracking of the mold cavity material, affecting the overall integrity of the mold.
Material Flow and Air Management: Understanding the flow of material and the presence of air in the mold cavity is crucial. This helps in determining the most effective exhaust method to ensure that air is properly vented, preventing burns and ensuring that the injection volume is sufficient.
2. Creating and Testing the Exhaust System
Once the mold cavity is prepared, the next step is to create and test the exhaust system:
Exhaust Slot Opening: For molds with complex geometric shapes, determining the opening of the exhaust slot may require several trial runs. This iterative process helps in fine-tuning the design for optimal results. Different exhaust methods are crucial for ensuring proper air removal and gas elimination, which can improve product quality and minimize injection pressure.
Groove or Insert Installation: Depending on the mold design, the exhaust slot can be created using the groove or insert installation location of the cavity, side insert seam, or slotted slat core for the integral cavity core. The use of an exhaust rod is particularly effective for gas evacuation, and its placement is crucial to minimize visible marks on the final plastic product.
Mosaic Structure: In cases where exhaust is particularly challenging, adopting a mosaic structure can be beneficial. This approach allows for the processing of dead corners without compromising the appearance and accuracy of the final product.

3. Designing the Exhaust Groove
The design of the exhaust groove is another critical element in the setup process:
Material Overflow Prevention: The exhaust groove should be designed to prevent material overflow and blockage. A good rule of thumb is to match the width of the groove to the width of the shunt, with a height of around 0.12 mm. The vent hole plays a crucial role in preventing overflow and maintaining the integrity of the molding process.
Ventilation: All runners in front of the gate, as well as all sides of the mold cavity, should be vented. The recommended dimensions for vent grooves are a width of 6.5 mm and a height ranging from 0.075 to 0.16 mm, with each vent groove separated by 25 mm.
Exhaust Method: Depending on the specific needs of the mold, consider using a parting surface exhaust or exhaust in the gap of the mosaic. This can significantly improve exhaust efficiency and ensure a more uniform mold filling. Proper exhaust design helps expel air from the mold cavity when injecting molten material.

4. Implementing and Testing the Exhaust Slot
After the design is complete, the final step is to implement and test the exhaust slot:
Injection Parameters: Testing the exhaust slot involves monitoring its impact on key injection parameters such as pressure, time, holding time, and mold clamping pressure. Proper exhaust slot design should help reduce these parameters, leading to a more efficient molding process. Additionally, a well-designed exhaust slot can significantly decrease injection pressure, improving molding efficiency and reducing production costs.
Thimble Usage: To prevent burns and fusion marks on the plastic product, consider using a thimble in the design. Proper exhaust groove design is crucial to prevent surface burns and insufficient injection volume, especially for small or precision parts.
Material Testing: It’s also important to test the exhaust slot with different materials, such as powder unsintered alloy or spherical particle alloy, to ensure optimal performance.
Ongoing Monitoring: Finally, monitor the mold cavity material for signs of poor exhaust, such as cold flow or cracking. If any issues are detected, adjustments to the exhaust slot design may be necessary.

Summary
At Sino-Mold Industrial Co., Ltd., we understand the complexities of injection mold design and the critical role that proper exhaust slot setup plays in ensuring the quality of the final product. Our team of experts is dedicated to helping you optimize your mold designs for maximum efficiency and precision. Whether you’re dealing with simple or complex geometries, we have the expertise and technology to support your needs.
This article is part of our ongoing effort to share industry insights and help our clients achieve the best possible results in their injection molding projects. For more information or to discuss your specific needs, please feel free to contact us. www.sino-mold.com/louise@sino-mold.com
